系统要求
Windows 10
开发依赖
安装 Visual Studio 2019
安装 Visual Studio 2019 的这些选项
安装标准的 React Native 开发依赖,中文文档
安装 node.js,确保node的版本是12.9.1或是更高,12.9.1是构建 React Native for Windows 推荐的版本
安装 Chrome,用于调式JS,可选
安装 Yarn,可选安装,如果你想为 react-native-windows 添砖加瓦则续安装
故障排除
如果在运行应用程序后,打包程序未更新或应用程序未显示 React Native 内容-请关闭打包程序命令提示符窗口,并确保该应用程序已打开,然后运行 yarn start 并再次从 Visual Studio 运行该应用程序。
如果您在UWP应用程序窗口中看到带有错误消息:的红色错误框,请 ERROR: Instance failed to start. A connection with the server cannot be established 确保您正在使用打包 yarn start 程序运行,然后再次运行该应用程序。
安装 React Native for Windows
在需要创建项目的目录下面执行
react-native initnpx react-native init <project name> --version ^0.61.5 // npx 还能避免全局安装的模块,安装模块时会下载到一个临时目录,使用以后再删除 // –version ^0.61.5 指定版本号安装 Windows 扩展
安装 React Native for Windows 软件包
cd <project name>
npx react-native-windows-init --overwrite
// 切换到创建项目的目录下面然后安装
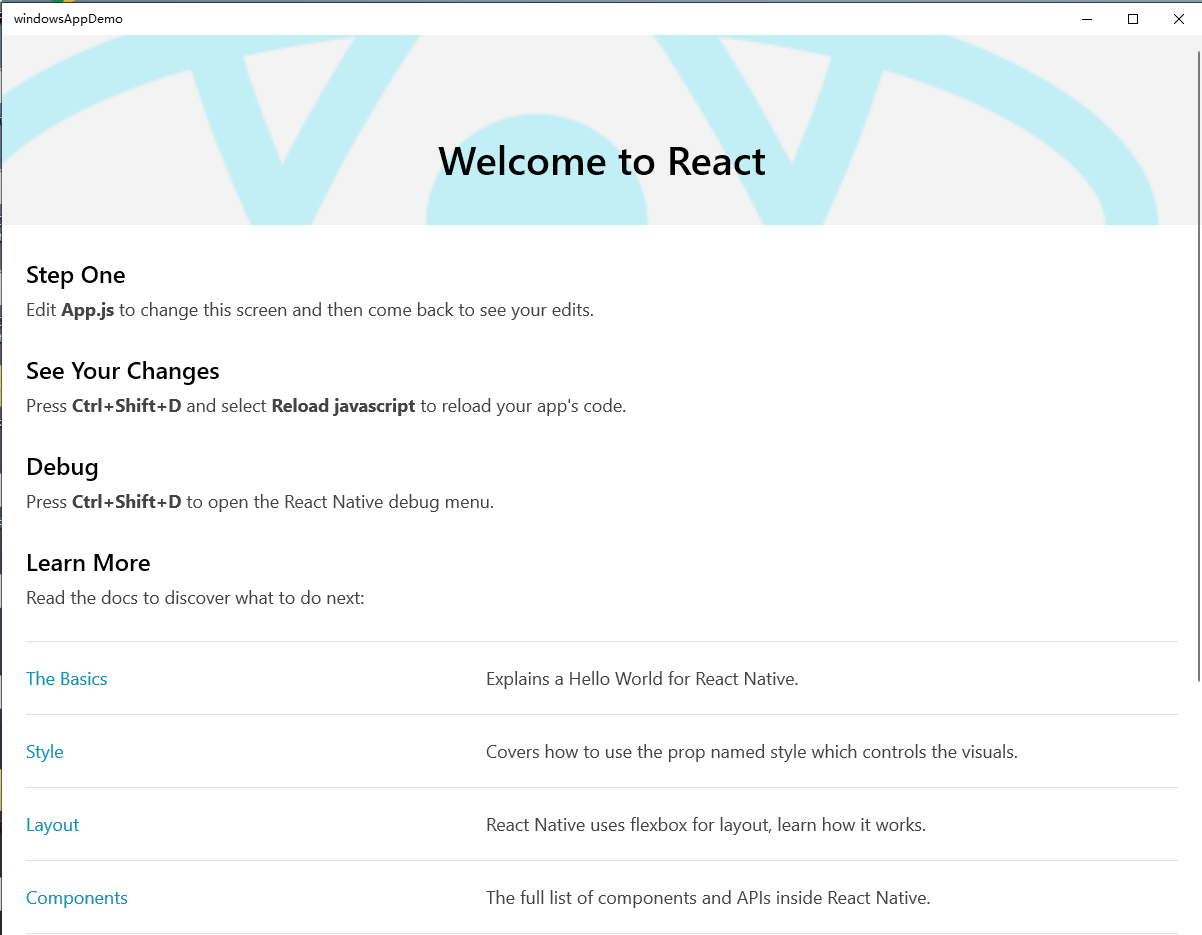
运行 React Native Windows 应用
运行前确保浏览器已经打开
在 VS Code 中运行
- 安装 VS Code 插件: React Native Tools
- 在应用程根目录创建文件 .vscode/launch.json,并粘贴如下内容
{
    "version": "0.2.0",
    "configurations": [
        {
            "name": "Debug Windows",
            "cwd": "${workspaceFolder}",
            "type": "reactnative",
            "request": "launch",
            "platform": "windows"
        }
    ]
}
运行项目
npx react-native run-windows
// 第一次启动会有点慢,安装后会淡出一个命令提示符窗口,请按回车以继续
按 “r” 键可以重载应用
在 Visual Studio 中运行
- 在 Visual Studio 中打开解决方案文件(如:”\windowsAppDemo\windows\windowsAppDemo.sln”)
- 如果 Visual Studio 显示无法加载,可以关闭 Visual Studio 然后重新打开
- 在项目目录项目下打开命令行提示符运行yarn start
- 在 Visual Studio 中的菜单下面选 Debug -> x64 -> 本地计算机(点击绿色三角按钮启动)


